

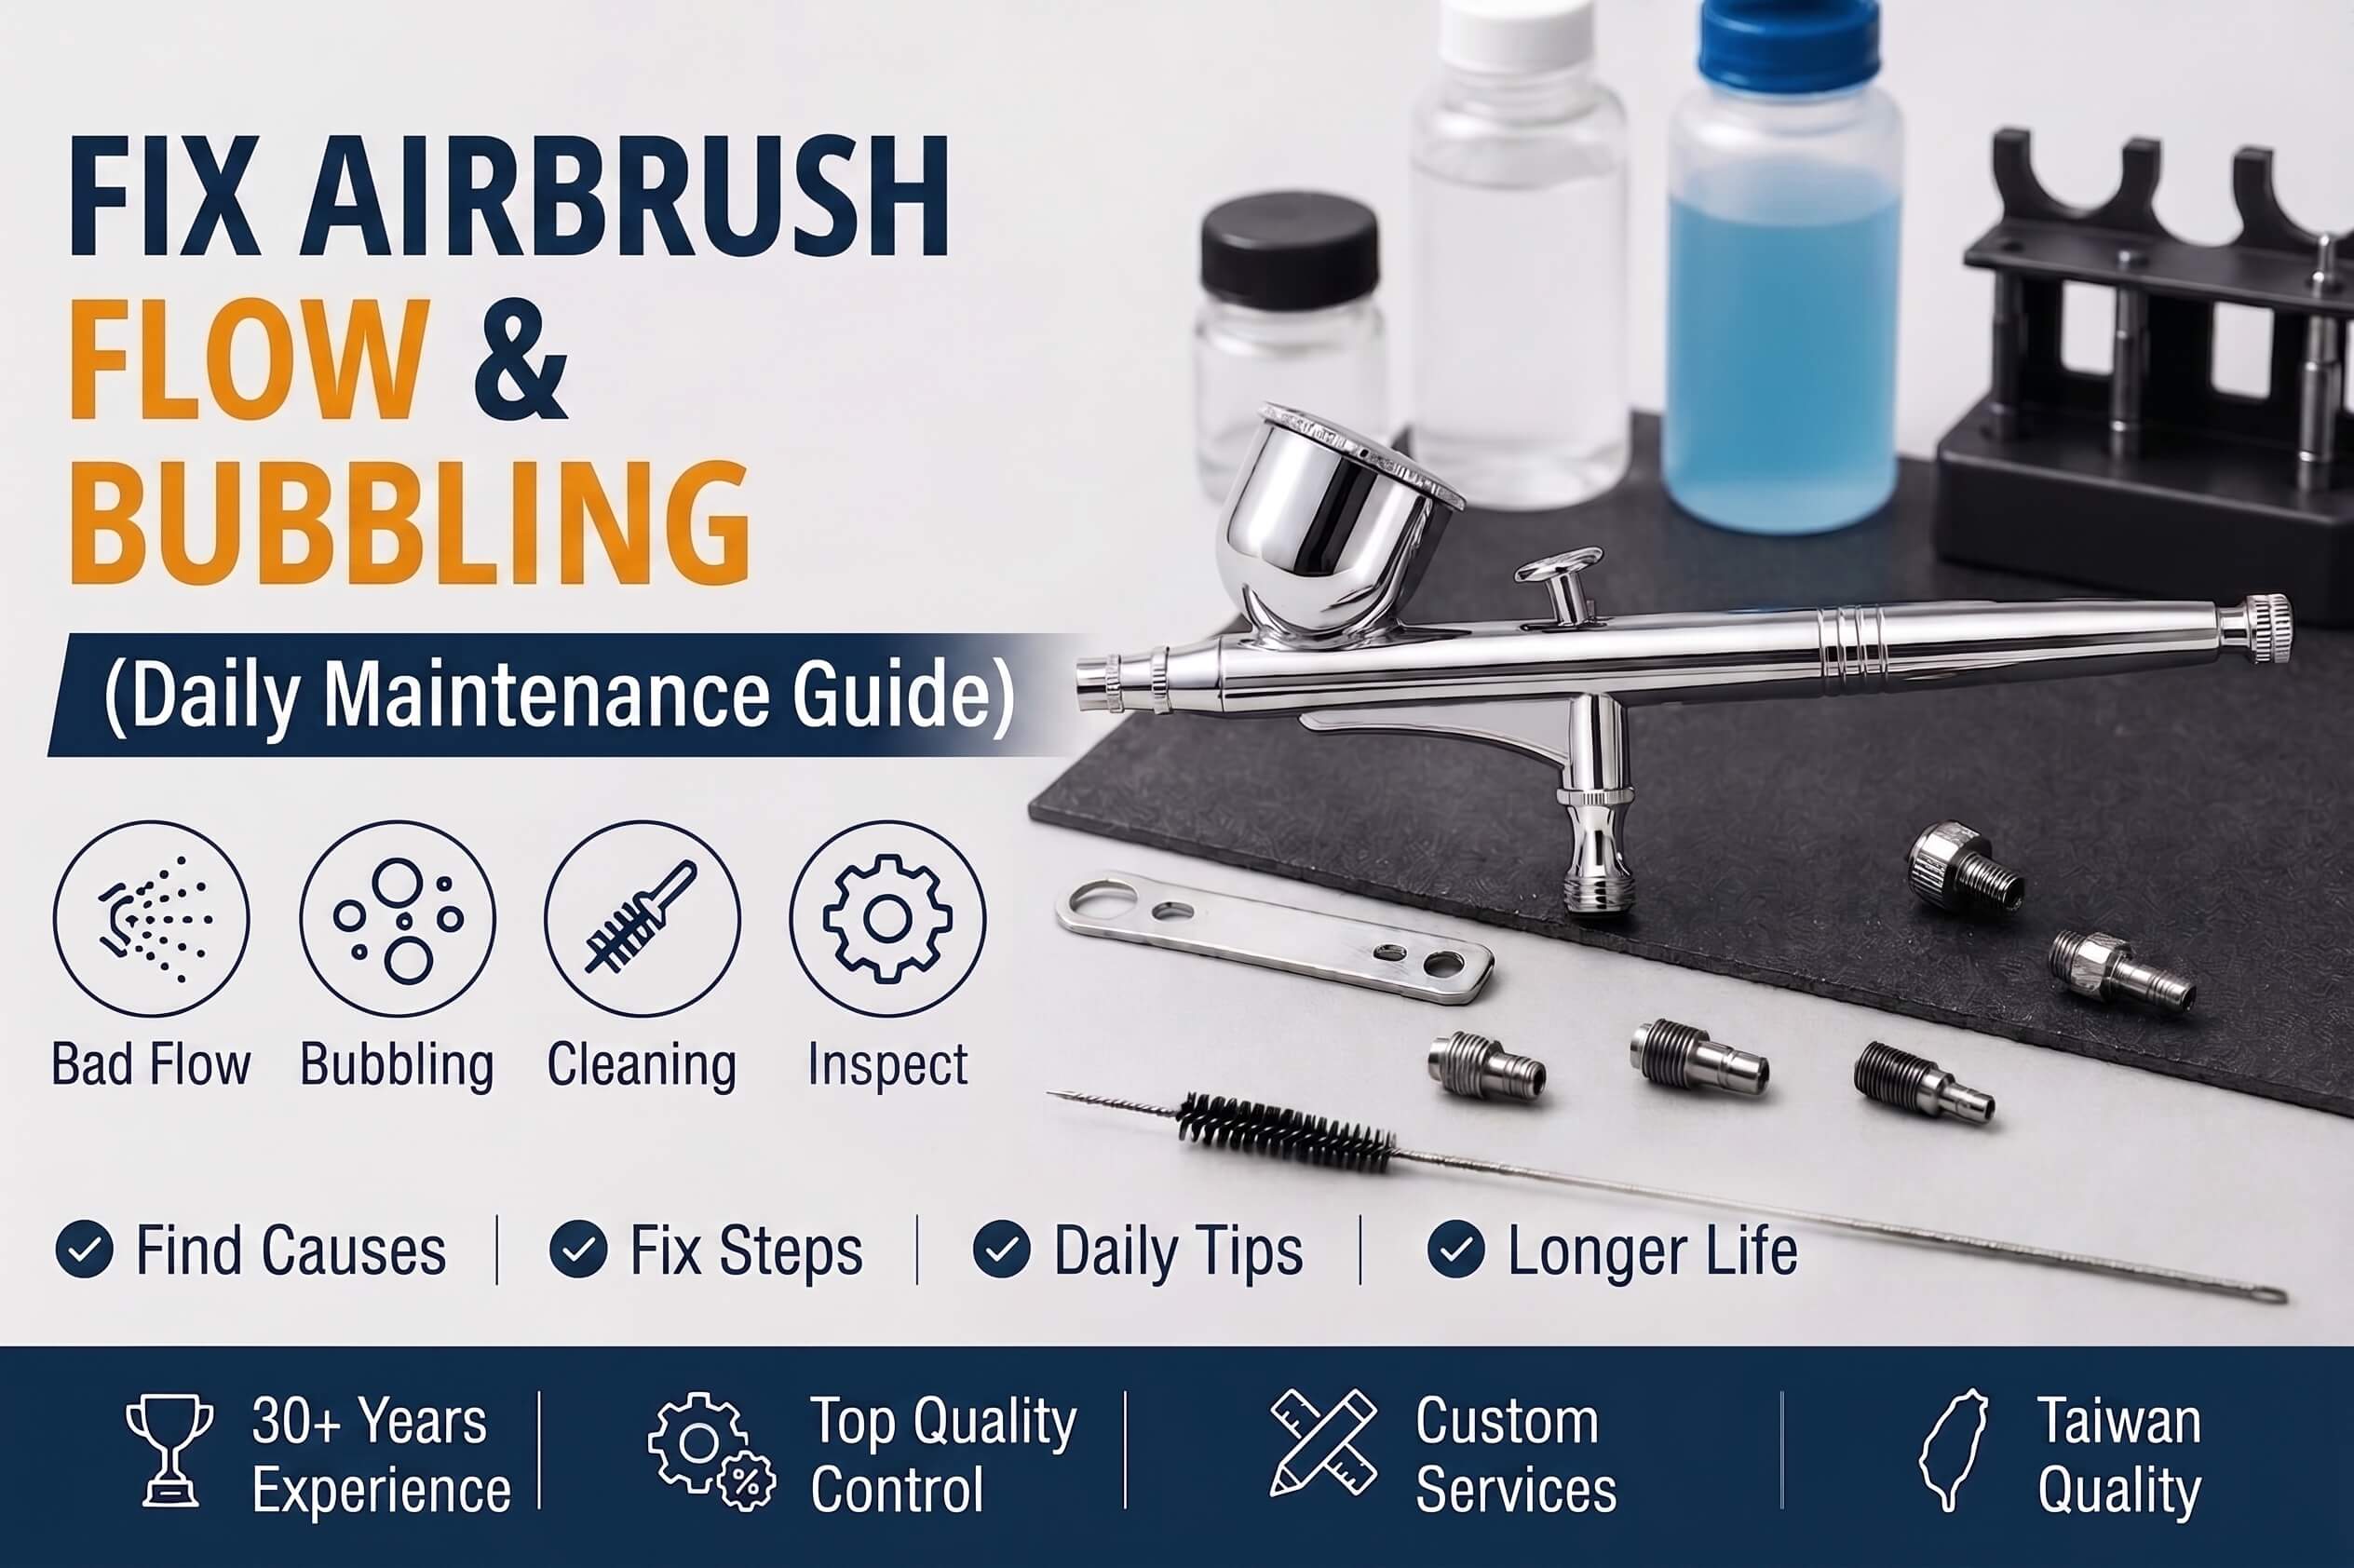
If you notice inconsistent paint flow, an uneven spray pattern, sputtering, or bubbling in the cup when pressing the airbrush trigger after a period of use, it usually means something is disrupting your air or paint flow.
Whether you rely on an airbrush for model making, artistic projects, vehicle graphics, or detailed spray work, these problems don’t just hurt your spray results—they often make you think your airbrush is malfunctioning.
In reality, most airbrush malfunctions can be diagnosed by checking a few basic factors: paint consistency, clogged nozzles, dried paint on the needle, incorrect component assembly, and airtightness.
With nearly 30 years of manufacturing expertise in airbrushes and spray tools—from precision machining to assembly and quality inspection—CYC MFG explores the most common hands-on challenges: why airbrushes suffer from uneven paint flow, and how to resolve bubbling in the cup.
1. What Are the Common Causes of Airbrush Paint Flow Issues?
Whether an airbrush can deliver paint smoothly depends on the paint’s condition, the air supply, and the internal components of the airbrush.
When any of these elements are compromised, it can result in an unstable paint flow, fluctuating spray patterns, or unevenly coated surfaces.
1.1 Incorrect Paint Consistency
Paint that is too thick is one of the first things you should check when experiencing poor paint flow.
Different coatings have varying viscosities and application requirements. Overly thick paint struggles to flow through fine nozzles, significantly increasing the risk of clogs.
Therefore, you should always adjust your paint based on its specific characteristics rather than assuming “thinner is always better.”
Additionally, ensure you stir the mixture thoroughly after adding thinner to prevent any settling or clumping.
1.2 Paint Residue Inside the Nozzle
If leftover paint isn’t cleaned out of the nozzle after use, it can dry up and create a partial blockage.
What starts as slightly uneven paint flow can worsen as residual paint accumulates, eventually reducing output or causing the airbrush to stop spraying altogether.
For this reason, don’t just clean the color cup during routine maintenance—pay close attention to the nozzle and the internal fluid passages as well.
1.3 Dried Paint on the Needle Tip (Tip Dry)
During long painting sessions, small amounts of paint can accumulate on the tip of the needle.
When dried paint builds up, it restricts smooth flow—often causing rougher atomization, stuttering output, or outright spitting.
If your airbrush starts out working perfectly but progressively gets worse, checking the needle tip should be your priority.
1.4 Unstable Air Supply
An airbrush requires a steady supply of compressed air to maintain a consistent spray.
If the air supply fluctuates during use, or if the related control valves and hoses are in poor condition, your painting results will be directly affected.
When troubleshooting airbrush problems, don’t just inspect the airbrush itself—be sure to verify the condition of your air hoses, connectors, and pressure regulators.
CYC currently offers high-quality airbrush hoses, quick-disconnect fittings, air regulators, and other painting peripherals that can be tailored to various spraying needs.
2. Why Is My Airbrush Color Cup Bubbling?
Compared to simple flow issues, a “bubbling color cup” usually warrants more immediate attention.
Under normal use, air flows through designated internal air channels. When airflow escapes into the fluid passage, it causes the paint in the cup to bubble.
If you encounter this issue, start by checking the following areas.
2.1 Is the Nozzle Installed Correctly?
The nozzle is one of the most critical precision components in an airbrush.
If the nozzle is not seated properly, or if there is debris or dried paint around its mounting point, the seal can be compromised, leading to abnormal airflow.
To fix this, disassemble the relevant parts, thoroughly clean the connection points, and ensure the nozzle is seated correctly.
2.2 Is the Nozzle Cap Loose?
If the nozzle cap is not tightened securely, it can also disrupt the overall airflow dynamics.
When you notice the paint cup bubbling, check first if the nozzle cap is firmly in place.
Airbrushes are precision tools—tighter isn’t always better. Use moderate force during assembly and disassembly to prevent damaging parts or stripping threads.
2.3 Is the Nozzle Clogged?
If dried paint or debris clogs the front of the nozzle, the obstructed paint channel can force air backward, leading to abnormal performance.
In this scenario, it is highly recommended to perform a thorough cleaning before testing it again.
Take extra care when cleaning the nozzle—never force hard or oversized tools inside, as this can easily deform precision parts.
2.4 Is the Nozzle Damaged?
If your airbrush has been dropped, bumped, or subjected to improper force during disassembly, check the nozzle carefully for any signs of deformation or damage.
If the color cup continues to bubble even after a deep clean and reassembly, the issue is likely not just paint consistency—you will need to closely inspect the condition of these vital components.
3. Recommended Troubleshooting Steps for a Bubbling Airbrush Cup
Many people instinctively take their entire airbrush apart the moment they encounter an issue.
In reality, this is rarely necessary.
Starting with the simplest, easiest-to-check items is often the fastest way to find the root cause, while also reducing the risk of damaging parts through unnecessary disassembly.
Step 1: Empty the Color Cup
First, dump out the remaining paint to avoid continuing to use an airbrush that is malfunctioning.
If there is a large amount of residual paint in the cup, clean it out first.
Step 2: Clean the Needle
Remove the needle and inspect the tip for any dried paint.
If residue is present, wipe it clean using a cleaning solvent appropriate for the type of paint you are using.
Step 3: Inspect the Nozzle
Check the nozzle for clogs, dried paint, or other debris, and look closely for any obvious signs of physical damage.
Step 4: Verify Component Installation
Reinstall the nozzle and related parts, making sure everything is seated correctly and securely in its proper place.
Step 5: Check the Air Source and Hoses
Once the airbrush itself is verified to be in good condition, double-check that your air hose, connectors, and compressor are operating normally.
This ensures you don’t waste time disassembling the airbrush when the actual culprit is a faulty air supply.
4. How to Perform Daily Airbrush Maintenance?
An airbrush is a precision painting tool that requires regular cleaning.
Proper maintenance doesn’t have to be incredibly complex, but it must be consistent.
Rather than waiting until your airbrush is completely clogged and unusable, spending a few minutes on basic cleaning after every session is far more effective.
Clean the Color Cup After Every Use
The first thing you should do after finishing a paint job is to dispose of any leftover paint.
Never leave paint sitting in the color cup for long periods, especially paints that dry or cure quickly.
Clean the Nozzle and Needle
A clean color cup doesn’t mean the inside of the airbrush is clean.
You must also pay attention to the needle, nozzle, and internal fluid passages.
If you notice paint starting to stick to the tip of the needle, clean it early to prevent dried paint from building up.
Deep Clean When Switching Colors
Whenever you need to change colors, make sure the previous paint is thoroughly flushed out.
When switching between light and dark colors, residual paint inside the airbrush will easily alter the subsequent color.
Perform a Thorough Cleaning After Prolonged Use
If you use your airbrush frequently, schedule regular deep cleans based on your actual usage.
Avoid frequently stripping down every part just to be thorough. Focus instead on keeping the nozzle, needle, and internal paint channels clean according to your actual usage.
Store Properly When Not in Use
If you plan to store your airbrush for an extended period, verify that absolutely no paint residue is left inside before putting it away.
Allowing paint to sit inside the tool long-term drastically increases the chances of severe clogging the next time you use it.
5. Airbrush Maintenance Mistakes to Avoid
Don’t Just Clean the Color Cup
This is one of the most common maintenance pitfalls.
Just because the cup looks shiny and clean doesn’t mean the nozzle and internal passages are free of dried paint.
Don’t Just Increase Air Pressure for Clogs
Cranking up the air pressure might temporarily alter your spray pattern, but if the root cause is a clogged nozzle, dried paint, or improper assembly, more pressure won’t fix the underlying issue.
It is much more logical to identify the actual cause and adjust your setup accordingly rather than blindly increasing the PSI.
Don’t Force Sharp Objects into the Nozzle
The nozzle is a delicate precision component; you should avoid applying improper force during cleaning.
If a harsh cleaning method deforms the nozzle, it will ruin your spray pattern permanently—even after the clog is removed.
Don’t Overtighten Components
Airbrush parts should be tightened securely, but they do not require excessive force.
Repeatedly over-tightening and forcing parts during disassembly can strip threads and cause permanent damage.
6. Quick Troubleshooting Chart for Airbrush Paint Flow Issues
| Airbrush Issue | What to Check First |
|---|---|
| No Paint Coming Out | Nozzle clog, needle, paint consistency, air supply status |
| Skipping or Sputtering Paint | Dried paint on needle, nozzle residue, paint consistency |
| Paint Splattering | Needle tip, nozzle cleanliness, paint condition |
| Excessive Bubbling in Color Cup | Nozzle, nozzle cap, seal integrity, nozzle clog |
| Starts Normal, Gets Worse Over Time | Dried paint on needle (tip dry), paint buildup in nozzle, paint settling |
| Still Bubbling After Cleaning | Re-check component assembly and inspect for nozzle damage |
| Fluctuating Air Pressure | Air hose, connectors, pressure regulator, and air supply system |
7. Why is Airbrush Component Precision Important?
While many choose an airbrush based on looks, price, or features, true performance hinges on machining precision, assembly quality, and the seamless fit between components.
Inside an airbrush are several key parts—the nozzle, needle, nozzle cap, cup, and air channels. Though small in size, each directly impacts paint flow and airflow behavior during operation.
Therefore, an airbrush is more than just a single product—it is the coordinated result of numerous high-precision components working in harmony.
Established in 1997 in Changhua, Taiwan, CYC specializes in the R&D and precision manufacturing of airbrushes, spray tools, and pneumatic components, delivering reliable OEM/ODM design and production solutions worldwide.
From product design and parts machining to manufacturing, quality control, and after-sales service, our comprehensive manufacturing workflow allows us to maintain strict quality standards and provide tailored painting tool solutions based on client needs.
8. What to Look For When Choosing an Airbrush?
Occasional users often prioritize ease of use, but for long sessions or high-volume production, consider the following key aspects.
First, does the airbrush’s operating style suit your specific workflow and needs?
Second, are replacement parts and ongoing maintenance easy to source and manage?
Additionally, you should ensure that the nozzle specs, color cup capacity, air hoses, and related accessories are fully compatible.
For brands, tool distributors, and enterprises with specialized painting requirements, evaluating a manufacturer’s capabilities in product design, parts machining, customization, and mass production is just as critical as the product itself.
CYC offers push-button airbrushes, trigger-style airbrushes, as well as paint cups, air hoses, nozzle caps, adapters, airbrush holders, pressure regulators, and other spray-related accessories—delivering tailored products and manufacturing solutions to meet your specific application needs.
Conclusion: Smooth Airbrushing Starts with Daily Cleaning
An airbrush with poor paint flow or a bubbling cup doesn’t necessarily mean it’s broken.
More often than not, simply walking through a checklist—checking paint consistency, nozzle clogs, dried paint on the needle, component assembly, and air supply—will help you pinpoint and resolve the issue.
For daily use, build a strong habit of cleaning your tool after every session to prevent paint from lingering in the nozzle, on the needle, or within the fluid channels.
For any precision painting tool, solid maintenance habits do more than just reduce flow issues—they actively help maintain the highest spray quality and operational stability over time.
Backed by nearly 30 years of R&D and manufacturing expertise in Taiwan, CYC specializes in precision airbrushes and spray tools—from component machining to final assembly. Beyond standard products, we provide OEM/ODM design and manufacturing services, helping clients build tailored spray solutions to fit their specific requirements.
Whether it’s routine maintenance by an end-user or new product development by a brand, choosing the right product and securing stable manufacturing quality are both critical links that ultimately shape the final painting results.